WebsiteFiesta User Guide
This guide will help you get started with your website engine. We will see how to manage content and everything there is to know.
Summary
- Accessing the Administrator Interface
Accessing the Administrator Interface
The Administrator Interface is the side of your website that only you can access. This is where you entirely manage your content.
To go to your admin interface, use your website domain name and add "administrator/".
For example: "mywebsite.com/administrator/".
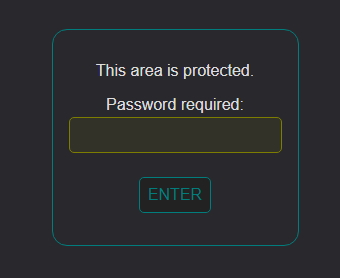
You will receive your password once your website is put online. You can then change it later.
Overview
Once logged in, you will arrive here:
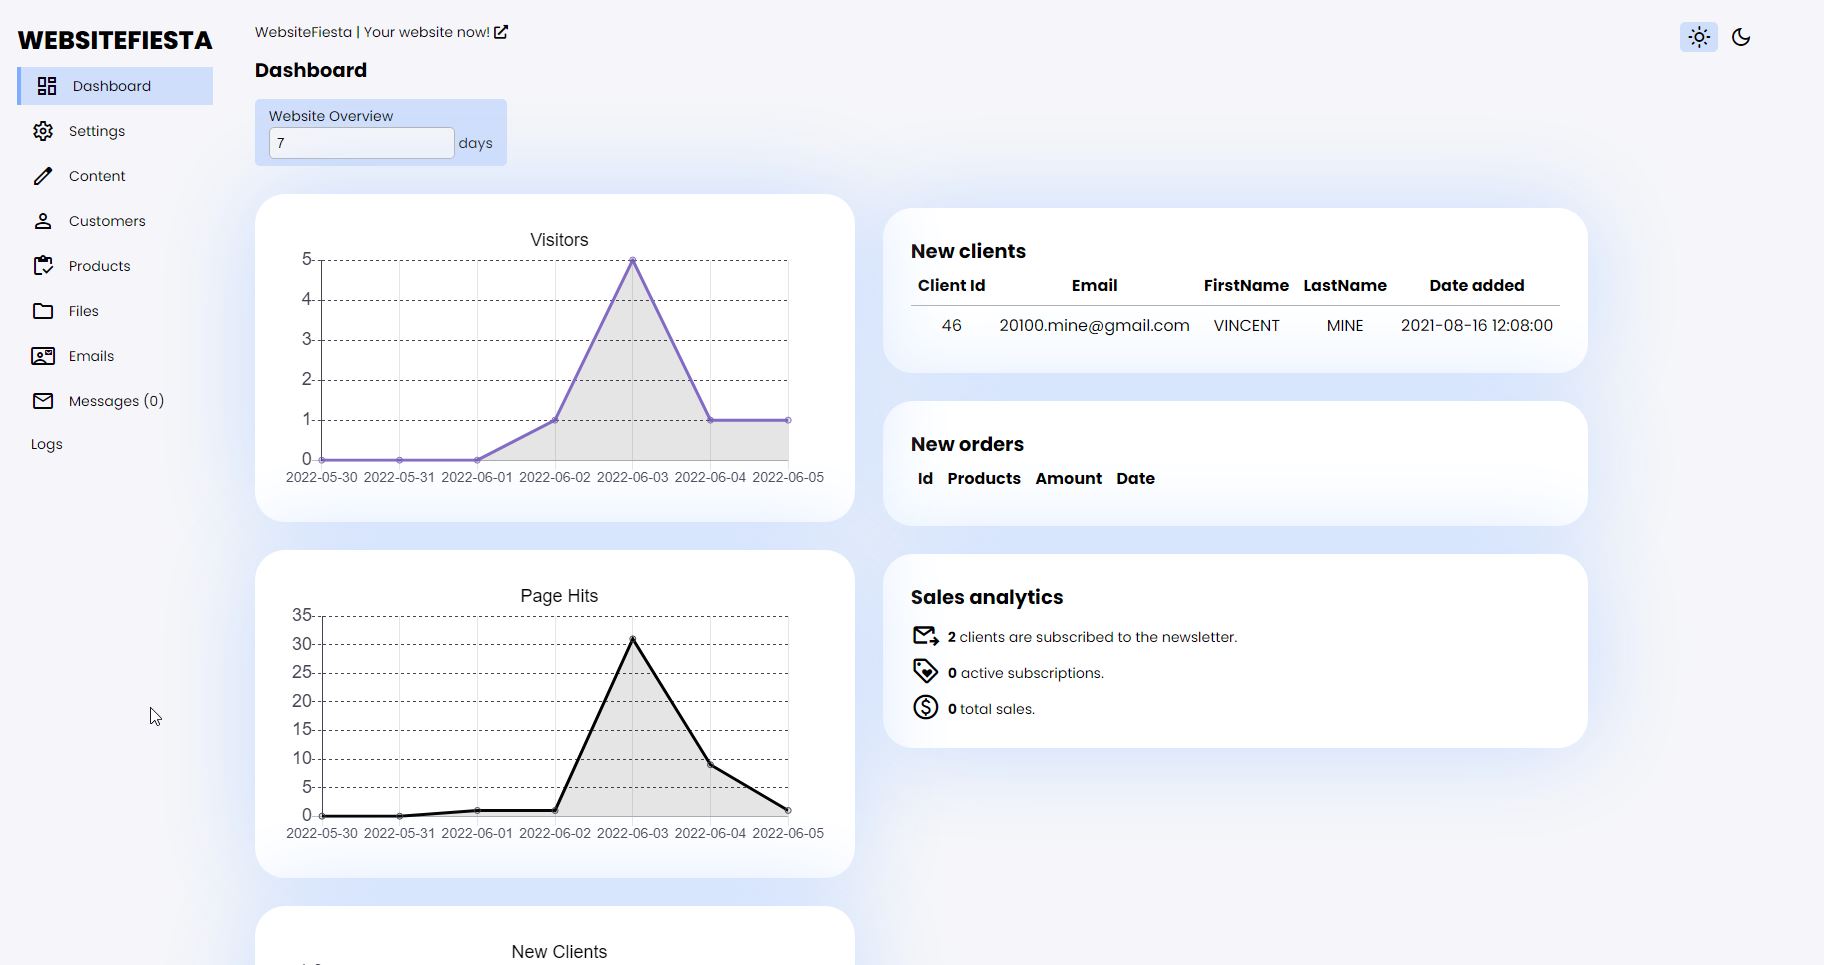
This is the dashboard, where you can see your site statistics.
Configure your website
The configuration menu is where you can set all the global parameters that aren't related directly to content creation.
The Main Configuration
All the important settings are here. When you change something, do not forgot to click the "SAVE" button on top left of the screen.
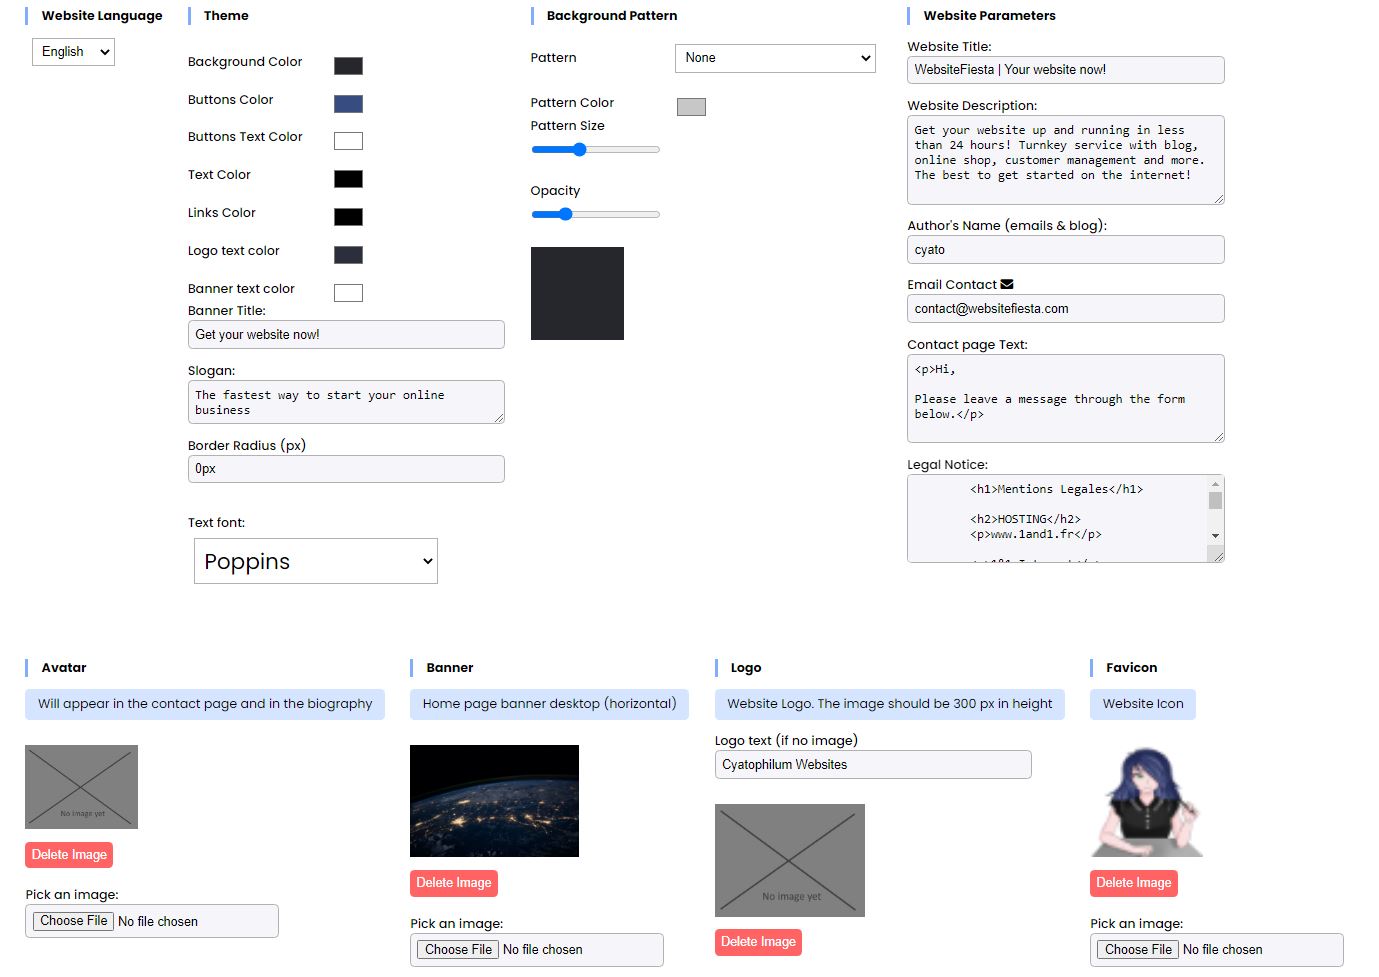
Website Language: for now, only English and French are supported.
Theme Colors: instantly change your website theme colors. The border radius setting is used to make the box elements rounder.
Website Parameters:
The Title is the one that will appear on Google.
The Description is the short description that also appears on Google, right below the title. It should contain around 140 characters. Choose wisely!
Example of title & description:

The Author name will appear at the end of your blog articles.
Example:

The Email contact is the email that will receive messages from the contact form.
The Contact page Text will appear on the contact page.
The Legal Notice is the text that is on the legal notice page. You do not have to write anyting about cookies since your site do not use cookies! You can use this example if you don't know what to write.
Uploading an avatar: to upload images to your website, you need to have them on your computer hard drive. Then use the "Choose file" button to search for the image and upload it.
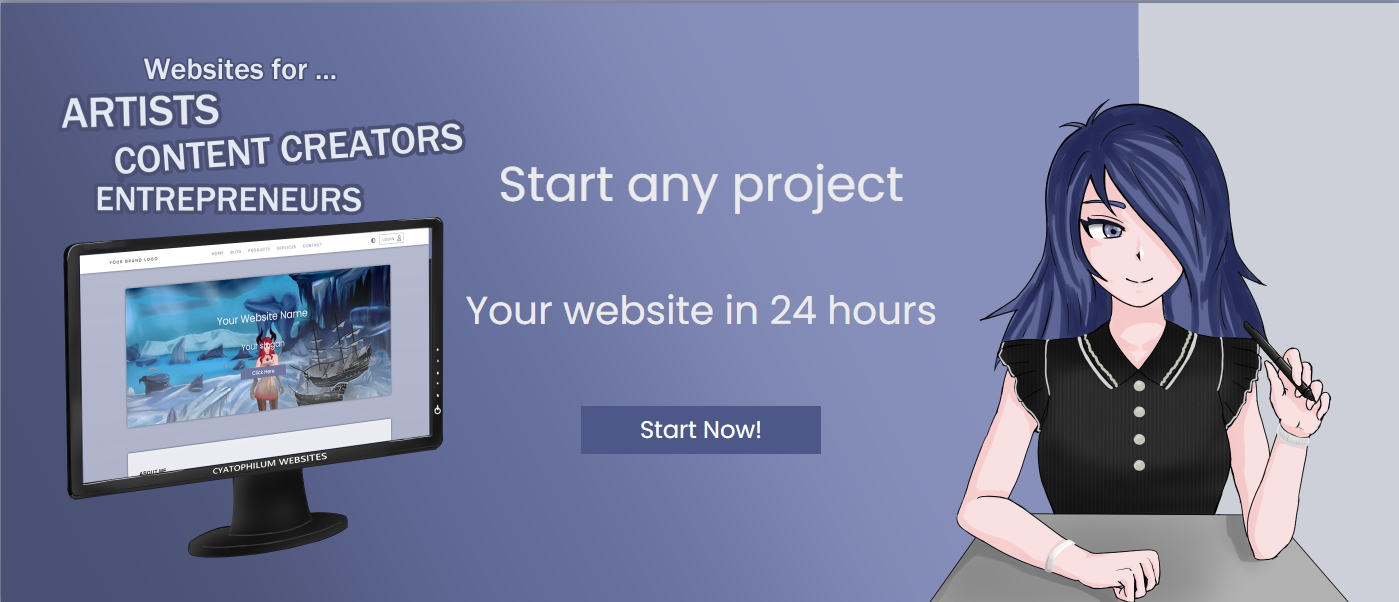
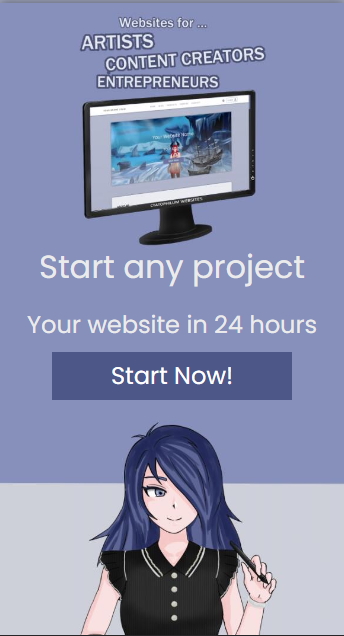
The banner: you will need 2 banner images for your website, one for desktop screens (horizontal) and one for mobile screens (vertical). When creating your banner, keep in mind that there is a call to action button in the middle-bottom.
Example of horizontal banner:
 Example of vertical banner:
The Logo: It will appear at the top right of your site. You can either use plain text or upload an image. The image should be 300 pixels in height or else it will be badly rendered.
The Favicon: This is the little image in your browser tab. It should help make your site more unique and easy to remember. You can use this site to create your favicon. Download the zip and the image we are looking for is called "favicon.ico".
Google Analytics: if you want to link your GA account to your website, simply input your ID in the field. This is not mandatory, the built-in dashboard will give you statistics. Note that using Google Analytics will slow down your site little so I do not recommend using it.
Update your admin password: I highly recommend to update your password once you get access to your website.
Socials
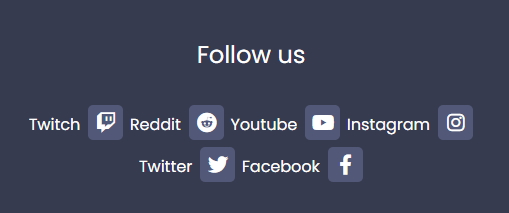
Socials are important to bring traffic to your website and build a strong network.
You can update your current socials or add a new one. When updating, the first field is what will appear on the website, in the footer. The second field is the link to your social. The default socials you will find are here to help you set them up. You can use a tag with a font-awesome icon as in the examples.
Payments
This is where you configure how you will accept payments.
Bank transfer, Cheque and Cryptocurrency payments require manual order validation, since you need to check manually that you received the payment, meanwhile Paypal payments are fully automatic.
Example of payment by cheque: The customer will receive this message.

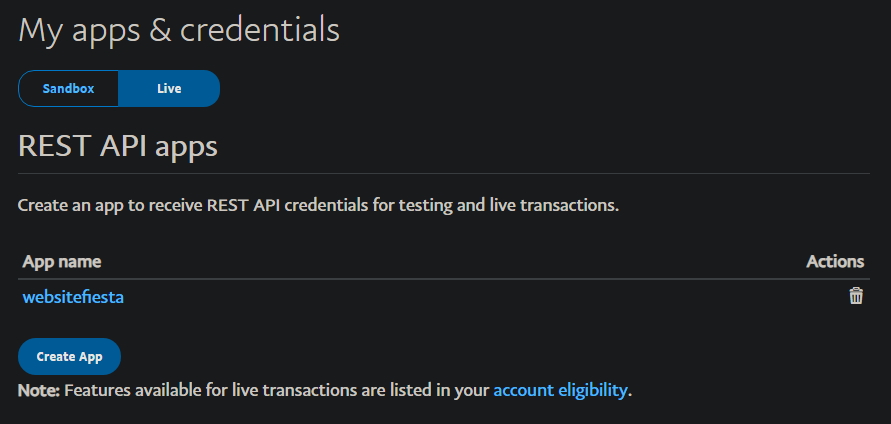
How to retrieve your Paypal Client Id and Secret: In order to be able to sell products using Paypal, you need to connect your account. To do so, go to the Paypal Developer Website and login using your business paypal account. If you do not have one, go to Paypal and create an account, then validate it has a business account. Once logged in the Paypal developer site, go to Dashboard -> My Apps & Credentials. Select "Live" instead of "Sandbox". In Rest API apps, click "Create App".
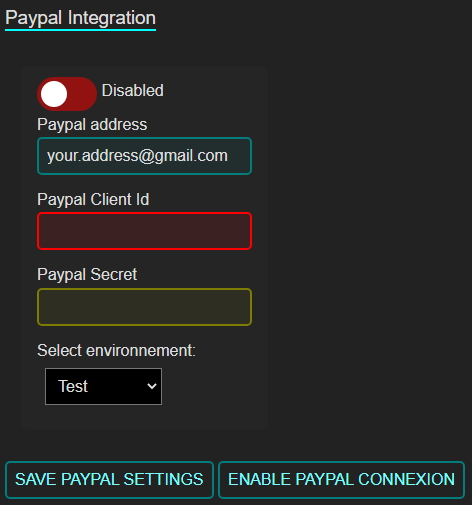
Give your app a name, and select "Merchant" App Type. Click "Create App". You should arrive to "LIVE API CREDENTIALS". There you go. You can now copy paste your Client Id and Secret into your website paypal configuration. Once you are done, select "Production" environnement, then click "save paypal settings". Finally, click "Enable Paypal Connection".
Custom Pages
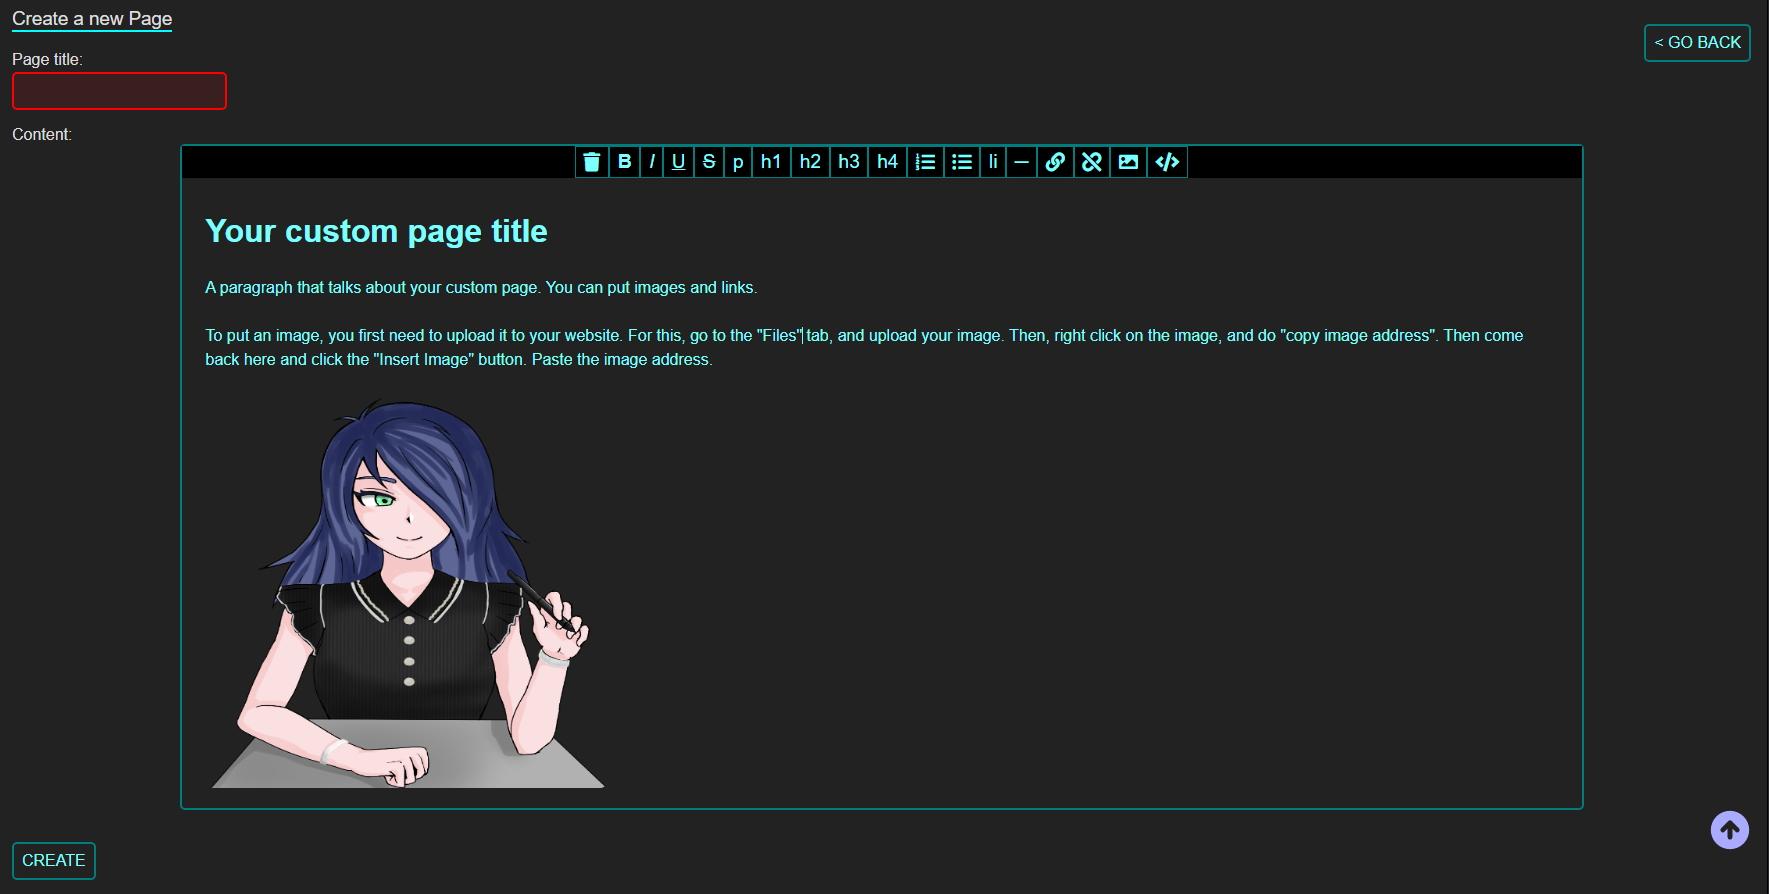
Custom pages are static web pages that you can add to your website. When you click "Create a new page", you will arrive to the creation page. Give your page a name and fill its content using the html editor.
Once your custom page created, it will appear in the custom page list, but not yet on your website.
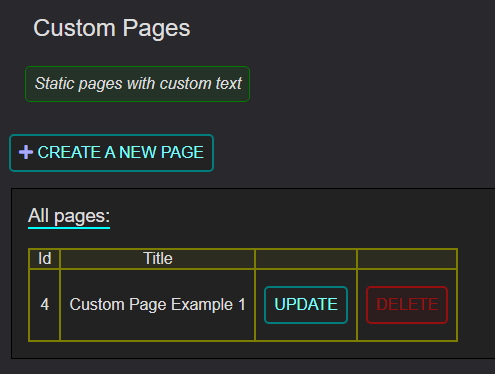
To make it appear on your website, you need to add it to the menu, which is explained in the next section.
Menu
This is where you manage the top main menu of your website. The menu consists of items which have a link and a title. By default, you will find all the usefull menu items already created. You can update their status if you do not need them for now. A disabled menu item will not appear on your website. You can only update a menu item at once. You can change your menu items positions using the first column.
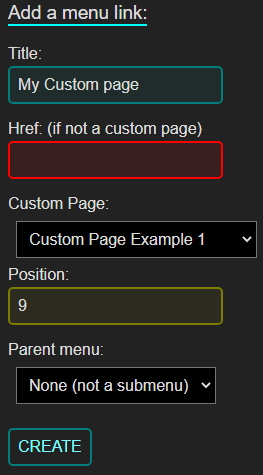
Creating a custom page menu item: if you want to make one of your custom pages visible, you need to add it to the menu. Give it a name, leave the href field empty, and select your custom page in the drop down "Custom Page" menu.
Creating a dropdown menu: A dropdown menu will look like this:
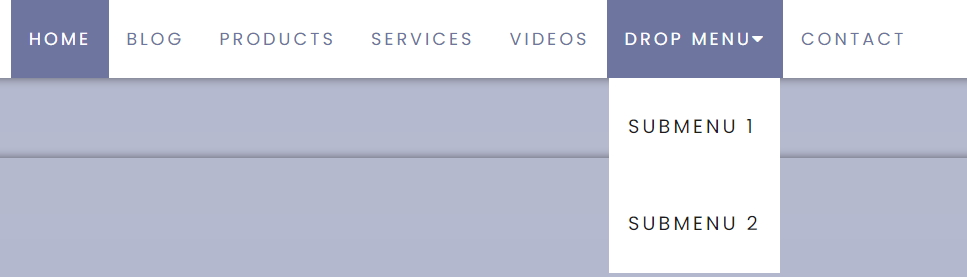
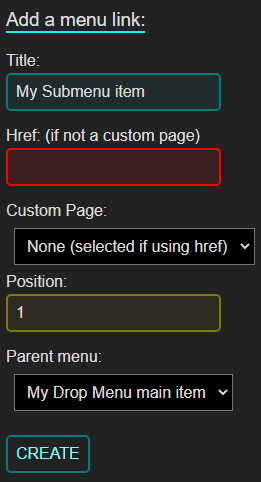
A dropdown menu contains a main item and sub items. First you need to create the main item, like in this example:

Once created, you will find it in the list. Don't forget to enable it, because it is disabled by default.

Then to create sub menu items, you need to reference your main item like this:
Home Page
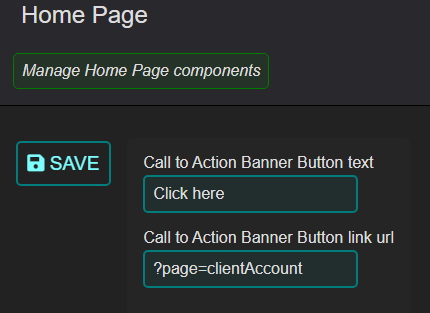
You can customize a bit how your front page looks. First you need to change your call to action button text. You can also change the link of the button, by default it redirects to the login page.
Biography: if you want visitors to learn about yourself, you can use this feature.
Articles: you can display your most important articles on the front page.
Same thing with the gallery and products. Use the position field to change the order of your front page.
Custom Sections
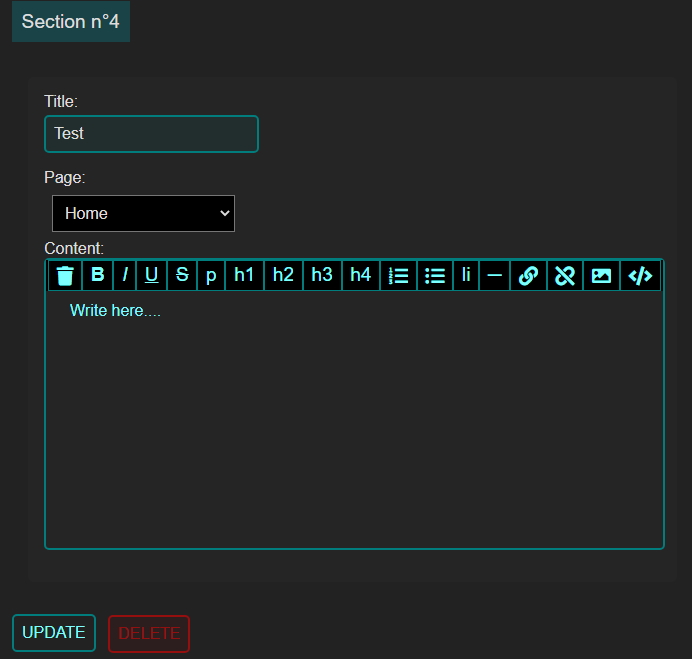
Unlike custom pages, custom sections will hook themseves at the end of an existing page. To create a custom section, choose on which page it should appear.
Blog
The blog is the most important part of your website, since its content is what will rank your website on google. Create meaningful articles will make people find your website when they search for something on the internet.
Articles
Creating an article: A good article should contain at least 500 words, and the title has to briefly describle its content while making it interesting.
Using the html editor: html tags are used to structure your article with titles, bold text, links, images and more. Once you are done writing your article, select with your mouse the text that you want to add a tag to, then use the editor menu.
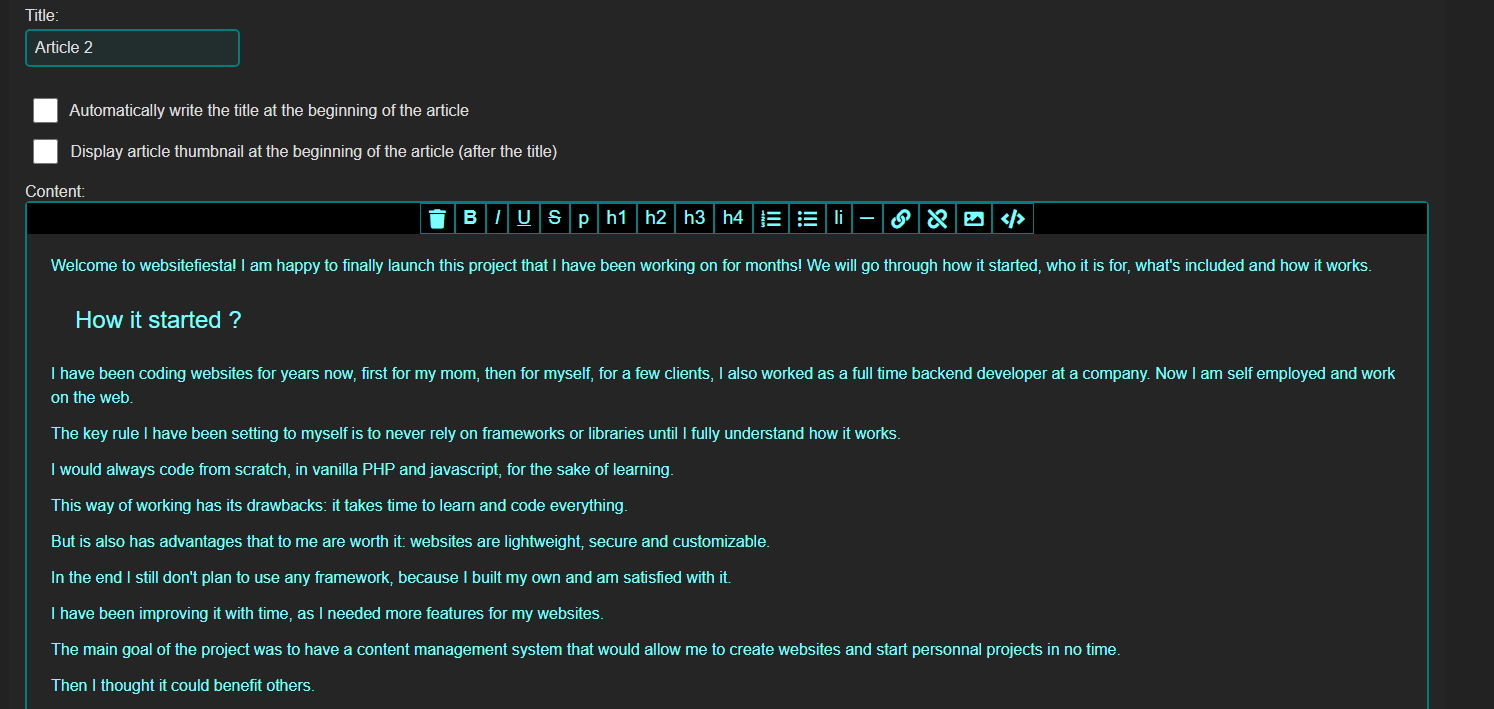
Image Thumbnail: the image that will appear in the article list. Choose an image that will bait people to read your article. The recommended image size is 600x400 pixels.
Article categories: you can choose to organise your articles in categories. For this, click "Enable article categories" then "Manage categories".
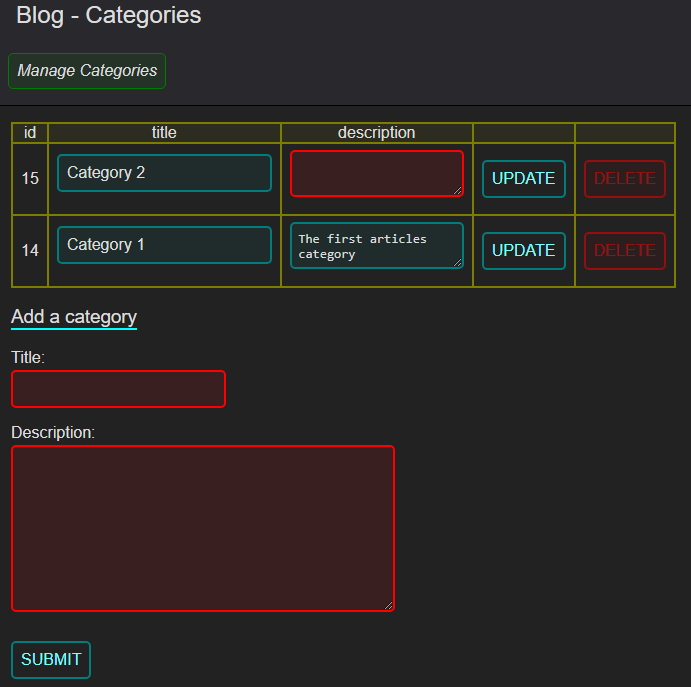
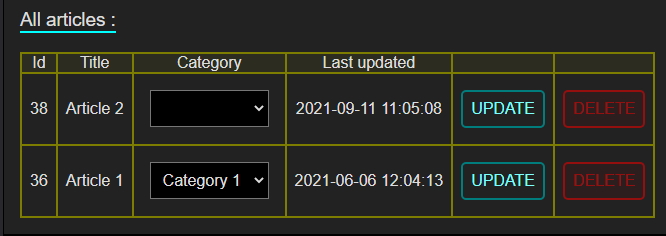
Then once your categories are created, you have to assign a category to each article. Leave the category field blank and the article will be in no category at all. It will still appear in the "latest" article list though.
Text To Speech: it is possible to read out loud an article. To activate this feature, click "Enable Text To Speech", then "Save Settings". When enabled, Text to speech buttons will appear at the top of your articles.

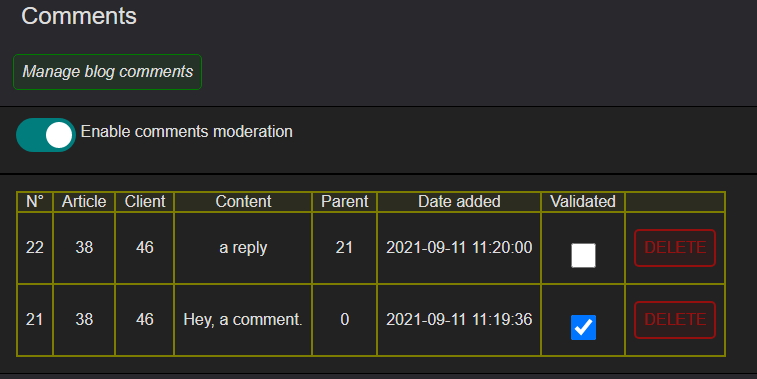
Comments
Logged in users can leave a comment under an article. With Comments Moderation enabled, comments will not be published until you validate them.
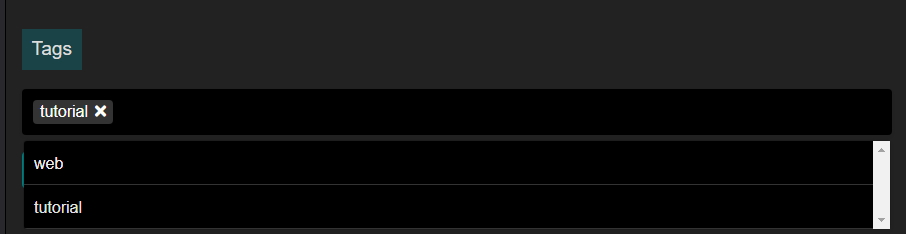
Tags
Tags are important keywords that you can use to link your articles together, and increase referencing.
First you need to create them, then assign them to your article.
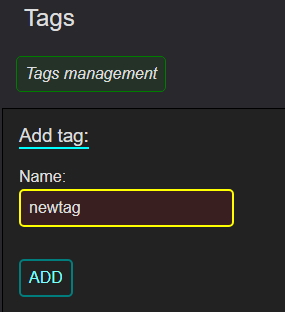
For that you can go to "update article" and tags can be added at the bottom.
Clients
Clients are visitors who create an account on your website.
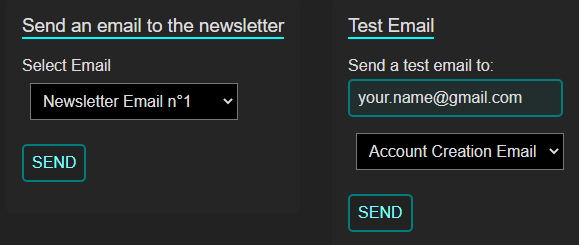
Newsletter
Your website can send an email to all clients subscribed to the newsletter. In order to do this, you need to first create the email (this will be explained in the email section), then click "Send". I recommend to send a test email to yourself first before.
Orders
The order tab is where you manage your client orders.
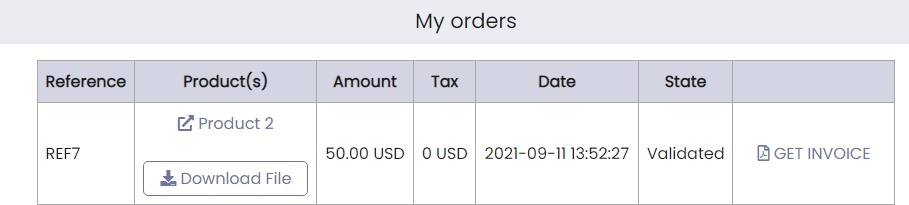
Chaging the order status: for payments that require manual verification like cheque, bank transfer or cryptocurrency, you need to change the order status to "Validated" once your receive the payment.
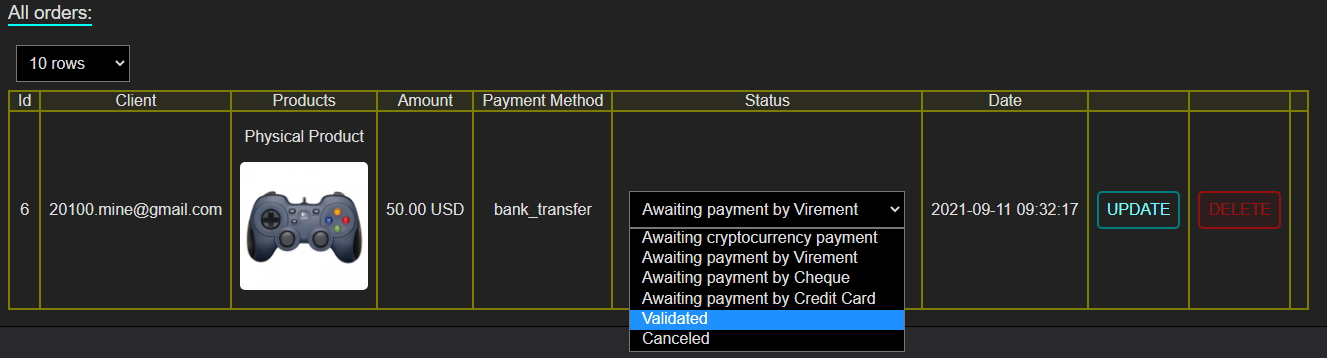
This will send an email to the client and unlock the order invoice. To download the invoice, click "Get Invoice", then right click "Print.." then save as PDF.
Billing Addresses
If needed you can manage your client billing addresses.
Products
You can sell digital or physical products. The website will handle the order validation. For physical products, you will have to manage the stock/delivery yourself.
Creating a product
The product Name: generic name for your product.
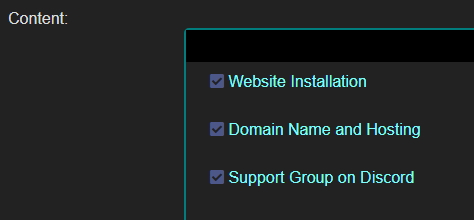
Content: the description of your product. It will appear on the selling page. Write as much detail as possible.
Product categories: just like articles, you can order your products into categories.
Price & currency: make sure to use the same currency as the one you usually use, to avoid currency conversion fees.
Product image: the thumbnail and main image for your product. Recommended size is 600x400 pixels.
Product Type: you can choose between physical or digital product. When creating a digital product, you have to upload your product file using the "File" field.
Taxes: if you pay any taxes (for ex: VAT) otherwise leave at 0.
Additional images: The more images your product have, the better.
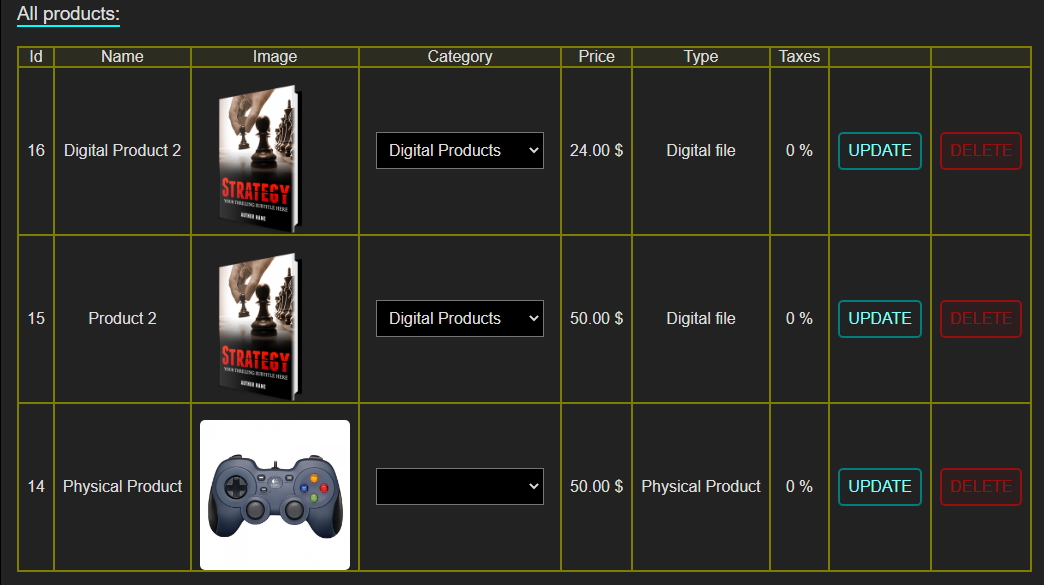
Updating a product
You can update an existing product without having to create it again. For this, click "Update" in the product list.
General shipping information: when selling physical product, you will want to reassure clients about shipping/delivery. This is where you write the information that will appear at the end of the product page description.
For digital products, the customer will be able to download the product file in its account order page.
Subscriptions
IMPORTANT: To be able to create subscriptions, you must first have enabled your Paypal connection.
Create a subscription
To create a subscription, you must first go through the "CREATE A SUBSCRIPTION" button.
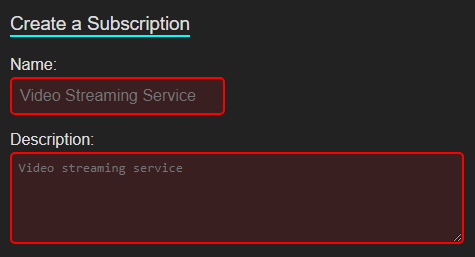
The subscription Name is the Paypal subscription name and will also appear on the website.
The Description field is only for the Paypal subscription. It will not appear on the website, but it will appear when people purchase it.
The Content field is used to describle the subscription to your clients. It will appear on the website, so you can be as precise as possible. Example:
The Category field is just for Paypal so don't worry too much about it.
Subscription images: for performance optimisation, your image should not be bigger than 360px in width, and 420px in height.
Create a subscription plan
Once your subscription is created, you need to create a plan. A plan is telling the subscription period and its price. For this, click "CREATE PLAN".
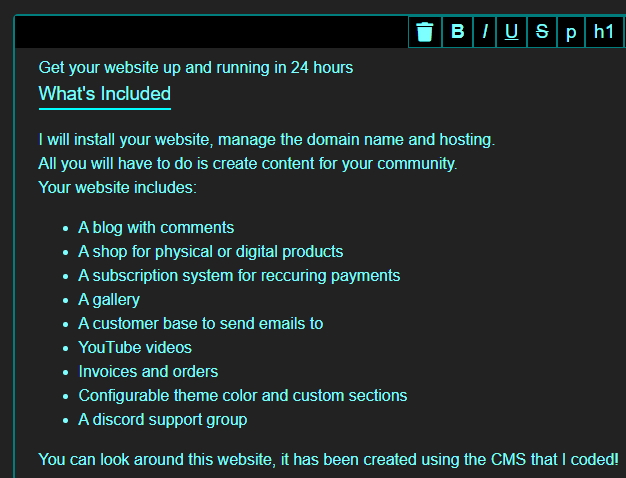
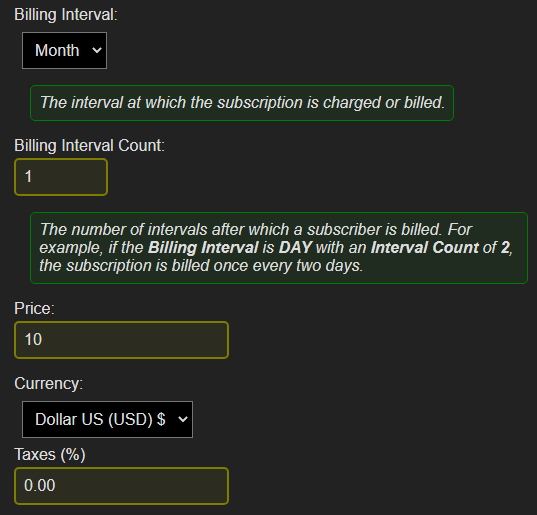
The plan Name, Description and Content work the same way as for creating a subscription. Here is an example of a plan's content:
Billing Interval: The interval at which the subscription is charged or billed.
Billing Interval Count: The number of intervals after which a subscriber is billed. For example, if the Billing Interval is DAY with an Interval Count of 2, the subscription is billed once every two days.
Example of a subscription billed 10$ every month:
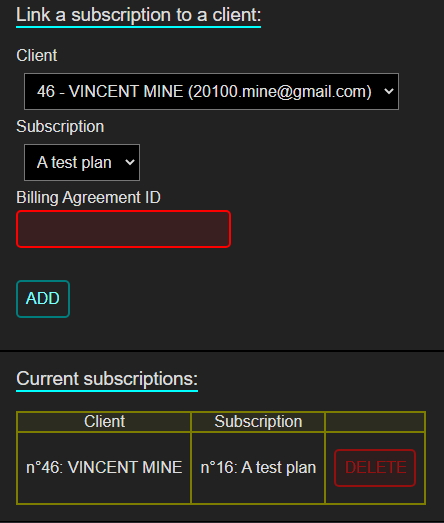
Manage Client Subscriptions
It is possible to manage client subscriptions. Linking a subscription to a client will only affect the database, it will not create an actual paypal subscription. The only way to create a subscription is the client to do it himself on the website subscription page. canceling a subscription though will also cancel the paypal subscription.
Gallery
The gallery is the place to showcase your artworks, photos, images, and organize them into categories.
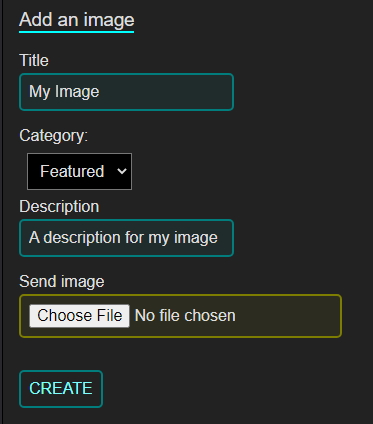
To create a gallery image, you just have to give it a name and a description, then upload it from your computer.
Then you can update or delete it if you want.
You manage your gallery categories the same way as your blog and products.

First create the categories, then affect each image to its category.
Files
This is where you can upload images and videos on your website. Once uploaded, you can use them in your blog articles, custom pages and sections, subscription and product pages, or even in emails.
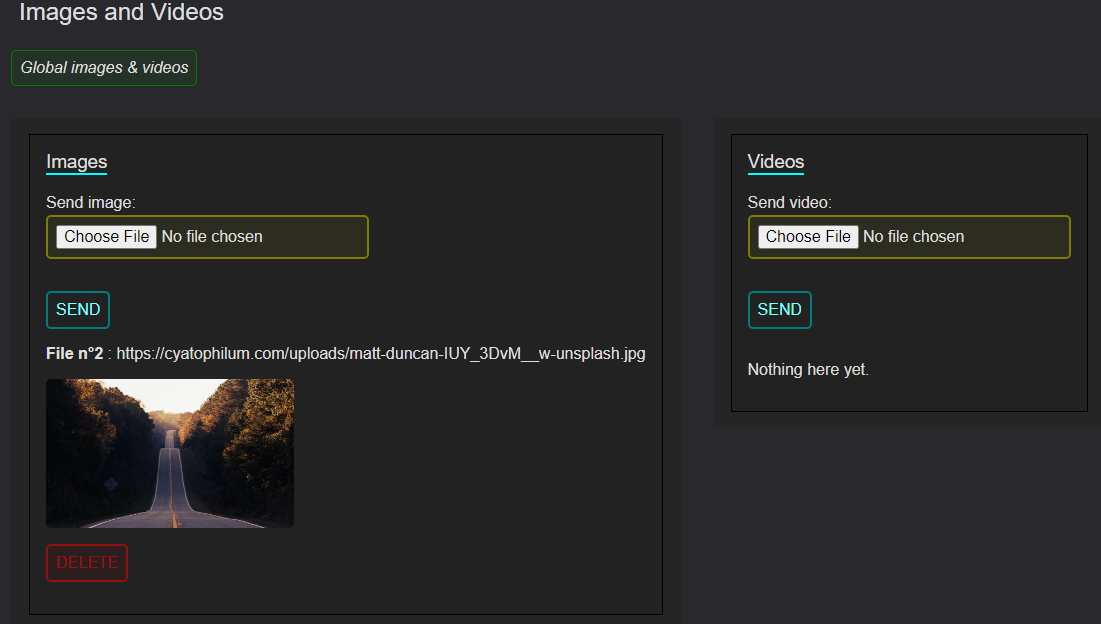
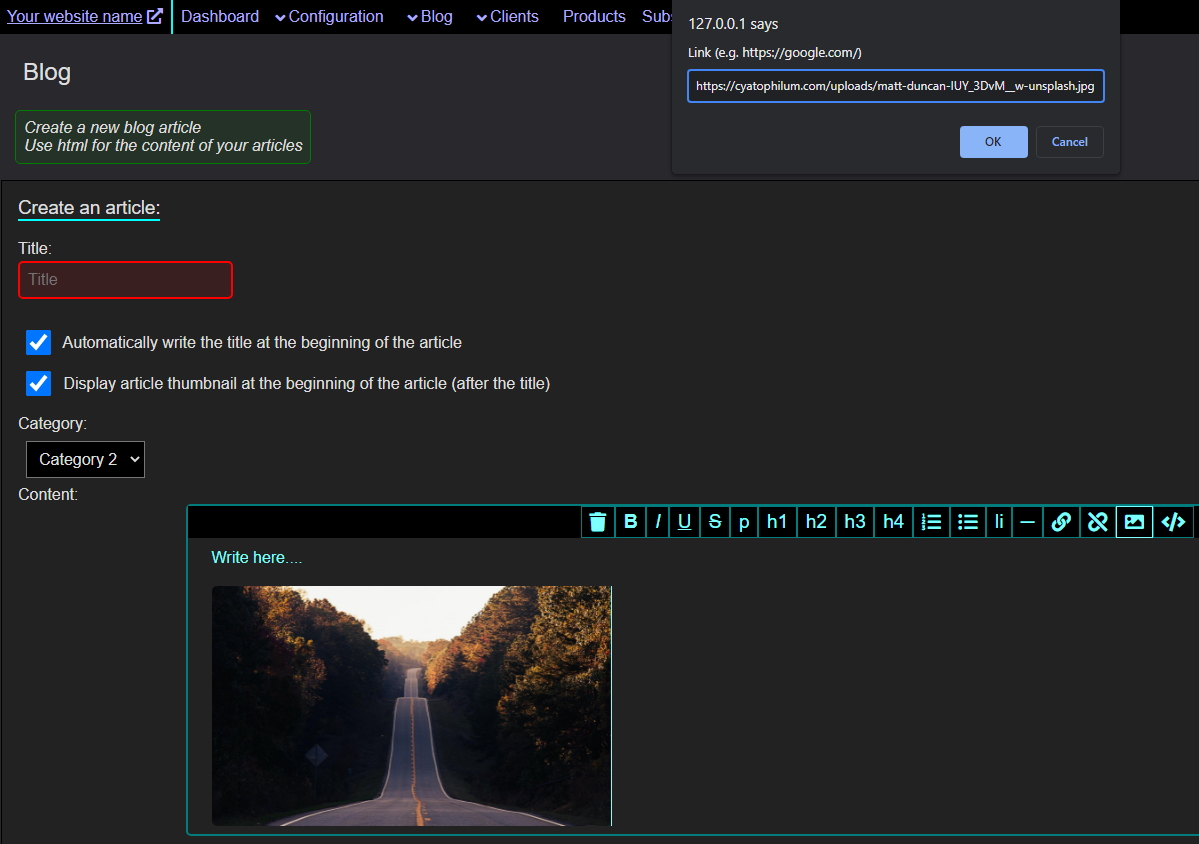
To add an image to your article, copy the image url next to the file number.
Then, once in the article creation page, click the insert image button. Paste the url and click OK. You should see the image appear in your article like this:
Emails
Emails are an important part of your communication with your community.
There are two kinds of emails: transactional emails and newsletter emails.
Transactional emails are sent automatically by the website when a user performs an action, meanwhile newsletter emails, it is you who decide when to send it.
List of transactional emails:
- Account creation: sent when a visitor creates an account on your website. It is a way to welcome the user.
- Comment reply: when someone writes a comment and gets a reply, an email is sent to him.
- Paypal product sold: sent when someone bought a product using Paypal.
- Non-Paypal product sold: sent when someone bought a product using another payment method than Paypal. The is not validated yet.
- Paypal Subscription Created: sent when someone sets up a subscription.
- Paypal Subscription Canceled: sent when someone cancels a subscription from its client account.
- Order validated: sent to the user when you validate an order manually from the administrator interface.
You can choose to stop sending these emails by unticking the checkbox for each email.
Sending a newsletter email is explained in the Clients section above.
Videos
The video page displays videos from YouTube.
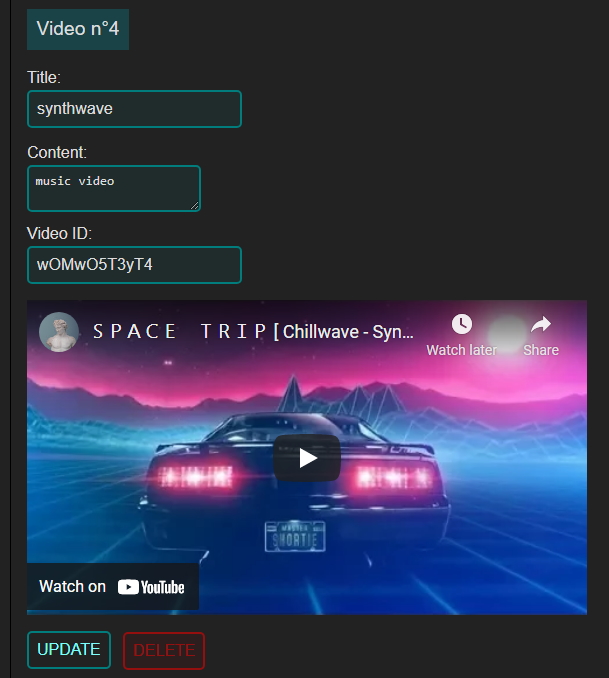
To add a video, you need to copy the ID of the video. the ID is the succession of letters that comes after the "https://www.youtube.com/watch?v=" or "https://youtu.be/". Example: jvDMiIjGkzM.

After adding a video, the preview should appear like in this example. If it does not, it is because the ID is wrong or the video doesn't exist.
Messages
Users can send messages using the contact page.
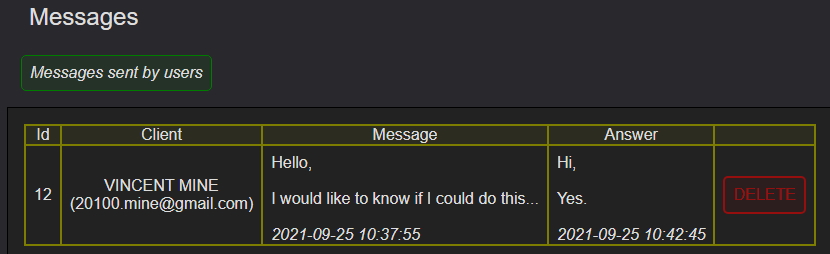
When you receive a message, you will also receive an email, but you need to answer to the message in the administrator interface, otherwise you will just reply to yourself.
To answer to a message, simply write your reply and click Send.
Logs
Logs are a save of all events that happened on the website. It is useful to supervise all actions in one place. Most of the time you will not need it, but it can be useful for the developer.
Logs are saved for one week.